The Transformative Power of Floating Shelves
There is perhaps no DIY project more satisfying and visually impactful than installing custom floating shelves. Blank, unadorned walls can often make a room feel incomplete or uninspired, while traditional bulky bookcases can consume precious floor space and make a room feel cramped. Floating shelves offer the perfect, elegant solution. They provide robust, highly functional storage and display space while maintaining a clean, airy aesthetic that seamlessly integrates into almost any design style. Whether you are looking to display a curated collection of vintage pottery in the living room, organize elegant spices in the kitchen, or hold heavy art books in the study, custom floating shelves are a sophisticated addition to your home. Best of all, building and installing them yourself is a highly achievable weekend project that requires only basic tools and a bit of precision.
The beauty of building your own floating shelves, as opposed to purchasing pre-fabricated hollow-core options from a big-box store, lies in the unmatched quality and customization. You have complete control over the wood species, the stain color, the exact dimensions, and the weight-bearing capacity. A solid oak or walnut shelf crafted with your own hands carries a weight and a warmth—a true classic, editorial elegance—that mass-produced alternatives simply cannot replicate. In this comprehensive, step-by-step guide, we will walk you through the entire process of measuring, building, finishing, and securely mounting stunning custom floating shelves that will look like they were installed by a high-end custom carpenter.
Step 1: Planning, Measuring, and Sourcing Materials
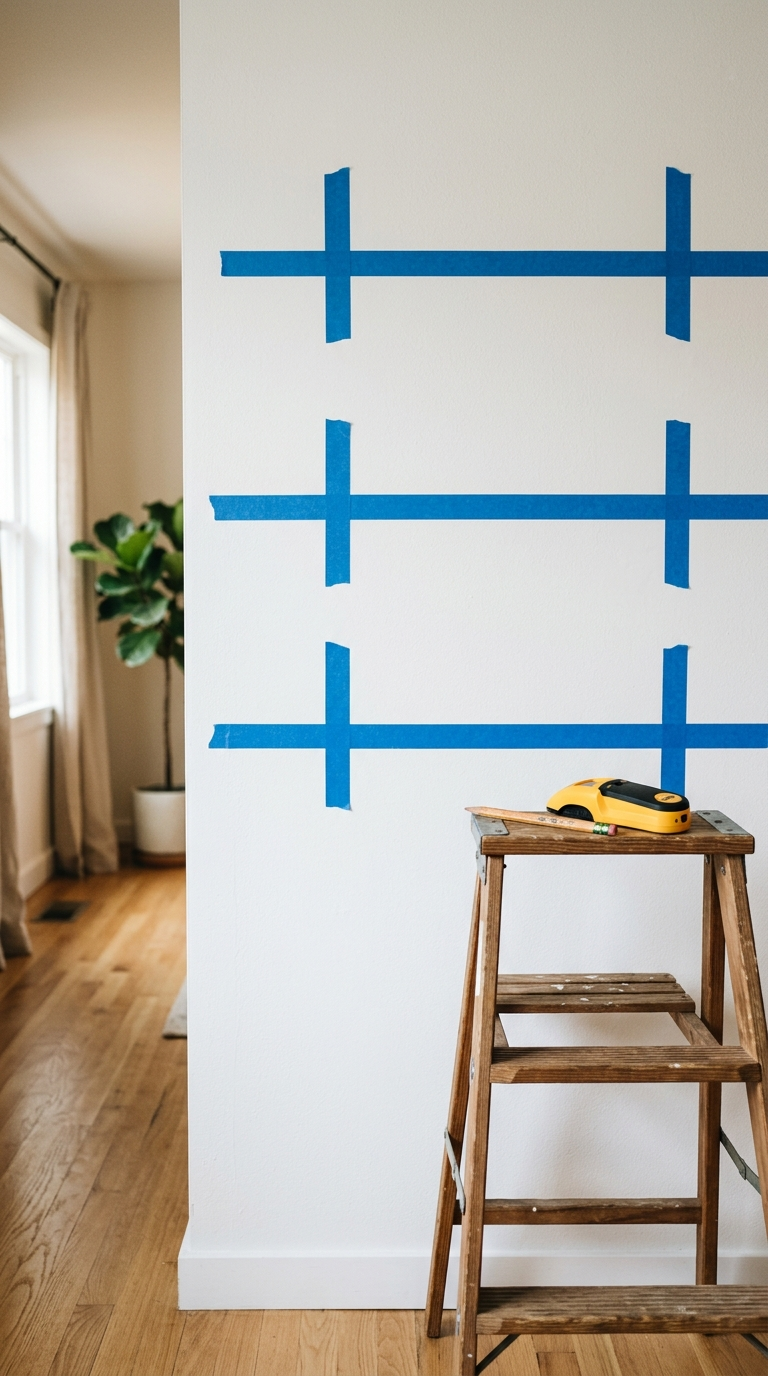
The foundation of any successful DIY project is meticulous planning. Begin by identifying the exact wall space where you want the shelves to live. Use painter’s tape to map out the length, depth, and vertical spacing of the shelves directly on the wall. This visual guide helps you ensure the proportions are correct before you make a single cut. For a classic, substantial look, aim for shelves that are at least 1.5 to 2 inches thick and 8 to 11 inches deep. Once you have your dimensions, use a high-quality stud finder to locate and mark the wall studs within your taped area. This step is non-negotiable; floating shelves must be anchored directly into the studs to safely support any significant weight.
With your measurements in hand, it is time to visit the lumber yard. For an elegant, premium finish, skip the standard construction pine and look for beautiful hardwoods like white oak, walnut, or maple. You will need the primary boards for the shelf bodies, as well as heavy-duty floating shelf bracket hardware. The most reliable hardware consists of a solid steel backplate with long, cylindrical steel rods that will slide invisibly into holes drilled into the back of your wooden shelves. Gather your tools: a miter saw or circular saw, a power drill, a specialized auger bit that matches the diameter of your bracket rods, a level, sandpaper, and your chosen wood stain or finishing oil.
Step 2: Cutting and Prepping the Wood
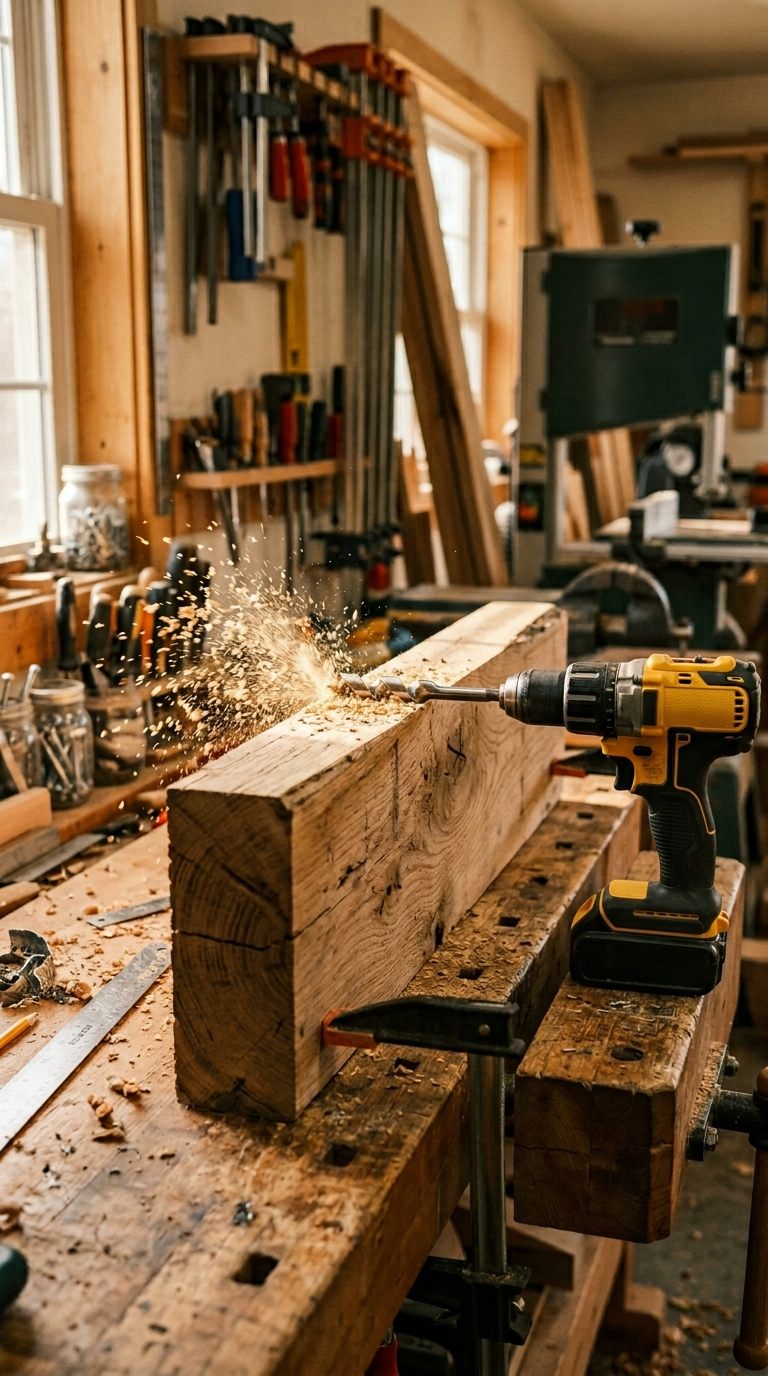
Begin the physical construction by cutting your beautiful hardwood boards to the exact lengths you determined during the planning phase. If you do not own a saw, most lumber yards or hardware stores will make these straight cuts for you at the time of purchase. Once the boards are cut to length, the most critical step of the entire project begins: drilling the holes for the hidden brackets. This requires absolute precision. Measure the exact distance between the rods on your steel wall bracket and transfer these measurements perfectly to the back edge of your wooden shelf.
Using a drill press is highly recommended for this step to ensure the holes are perfectly straight and level; however, a hand drill equipped with a portable drill guide attachment will also work excellently. Carefully drill the holes into the back edge of the wood using your auger bit, ensuring the holes are deep enough to accommodate the full length of the steel bracket rods, plus an extra quarter-inch for clearance. Take your time, keeping the drill completely level. If the holes are angled even slightly, the shelf will not sit flush against the wall. Once the holes are drilled, dry-fit the bracket into the wood to ensure a smooth, secure fit before proceeding to the finishing phase.
Step 3: Sanding and Finishing for a Professional Look
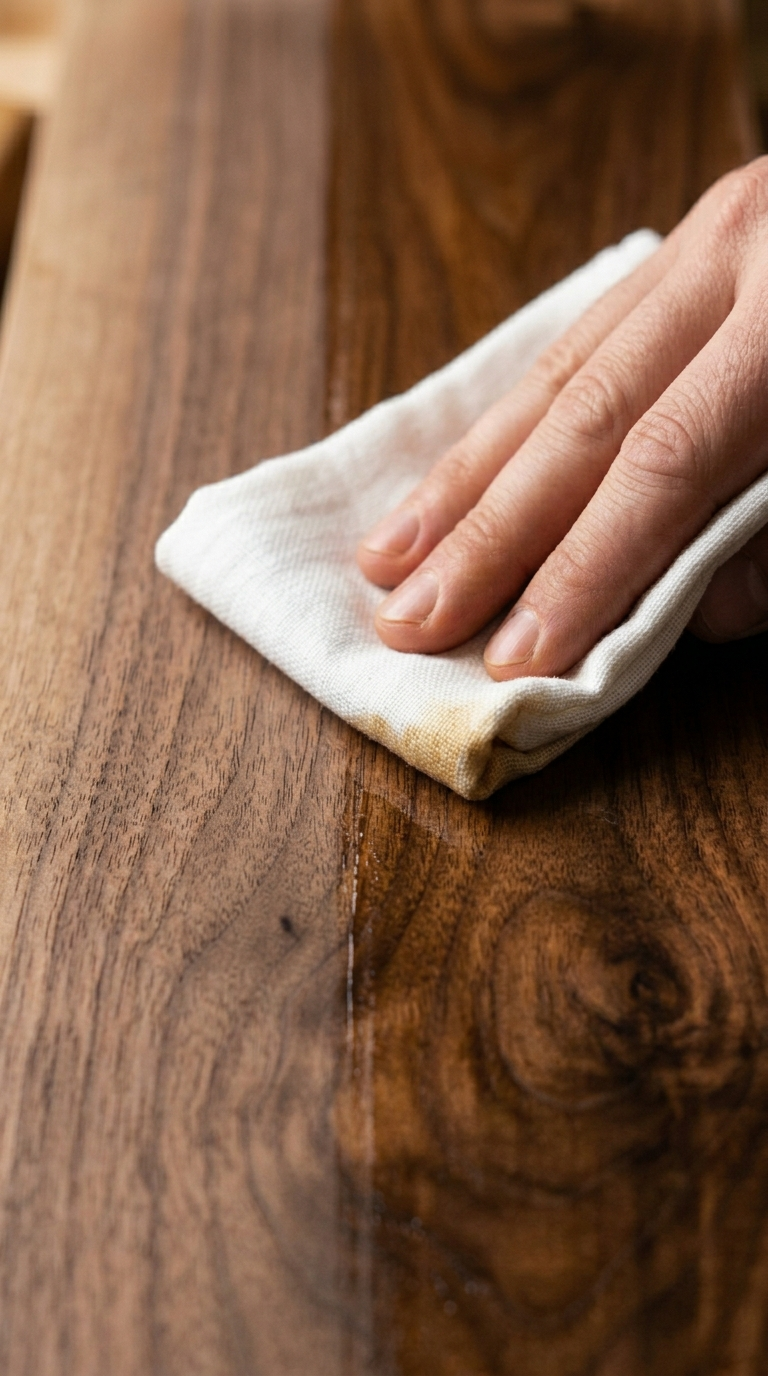
The difference between an amateur DIY project and a piece that looks professionally crafted lies entirely in the finishing process. Begin by sanding your wooden shelves thoroughly. Start with a medium-grit sandpaper (around 120 grit) to remove any rough patches, mill marks, or splinters. Gradually progress to a finer grit (180, then 220 grit) to achieve a buttery smooth surface. Pay special attention to the front and side edges, slightly rounding them over with the sandpaper so they are not razor-sharp, which adds to the refined, classic editorial feel.
Once the sanding is complete, wipe the wood clean with a tack cloth to remove all microscopic dust particles. Now, apply your chosen finish. For rich woods like walnut or white oak, a high-quality penetrating finishing oil, such as Danish oil or a hard wax oil, is vastly superior to heavy, glossy polyurethanes. These oils nourish the wood, enhance the natural grain patterns, and provide a sophisticated, matte or satin sheen that feels incredibly luxurious to the touch. Apply the oil with a lint-free cloth, allowing it to penetrate deeply before wiping off any excess. Allow the shelves to dry completely in a well-ventilated area for at least 24 hours.
Step 4: Installing the Hardware Securely
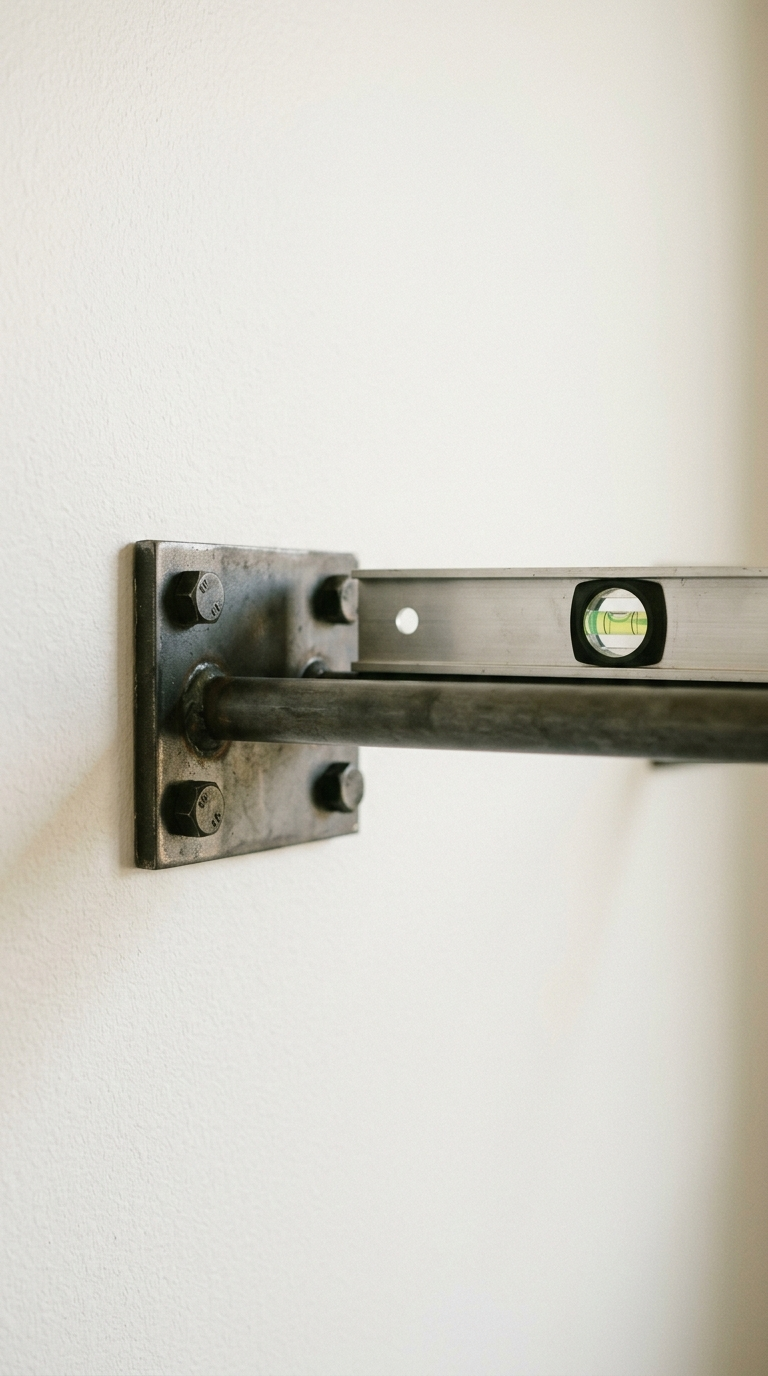
While your beautiful shelves are drying, you can mount the heavy-duty steel brackets to your wall. Return to the stud marks you made during the planning phase. Position the steel backplate against the wall, ensuring it spans across at least two wall studs for maximum stability. Place a long spirit level across the top edge of the bracket to guarantee it is perfectly horizontal. Once aligned, use a pencil to mark the drilling locations through the pre-drilled holes in the steel plate.
Drill pilot holes into the wall studs at your marked locations. Finally, secure the steel bracket tightly to the wall using heavy-duty lag screws. Use a socket wrench or an impact driver to drive the screws deep into the studs. Once the bracket is firmly attached, test its stability by applying moderate downward pressure on the protruding steel rods. The bracket should not budge or flex whatsoever. A solidly mounted bracket is the key to ensuring your shelves can safely display heavy books and decor without sagging over time.
Step 5: The Final Slide and Styling
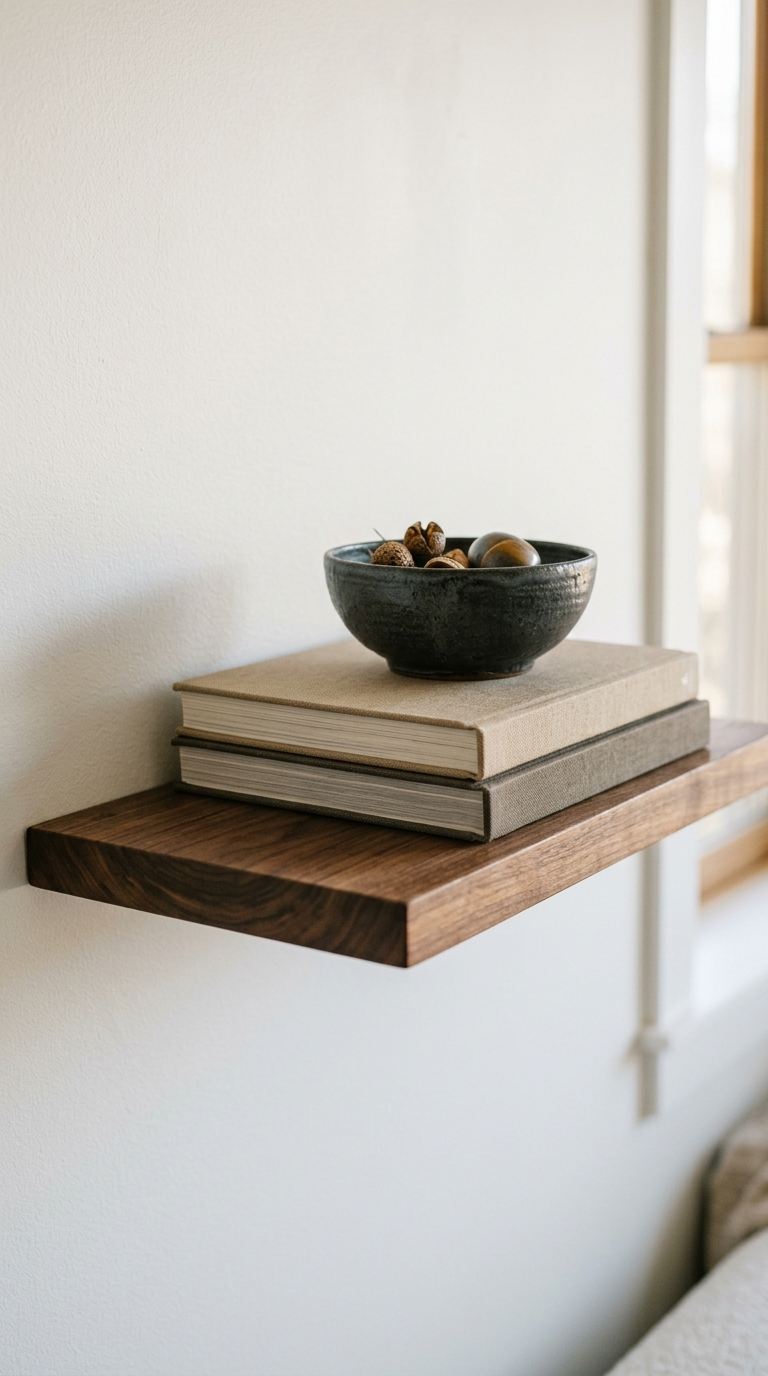
The final step is the most rewarding moment of the entire weekend. Take your fully dried, beautifully finished wooden shelves and carefully align the holes drilled into the back edge with the sturdy steel rods protruding from your wall. Gently but firmly slide the shelf onto the bracket. If your measurements and drilling were precise, the shelf will slide on smoothly and sit perfectly flush against the drywall, completely hiding the hardware and creating the magical floating illusion.
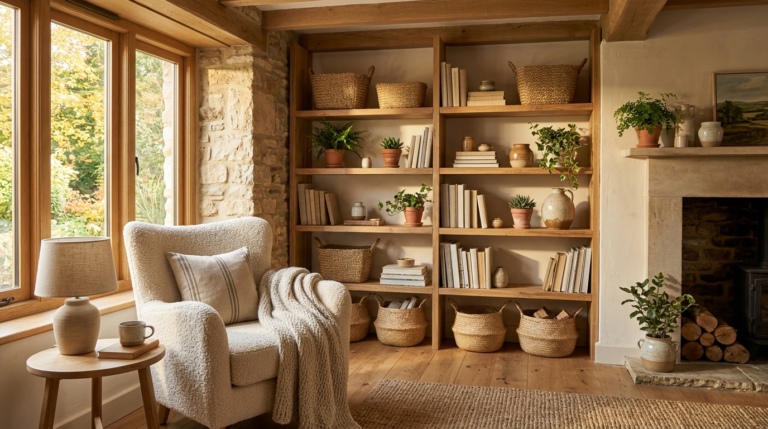
With your custom floating shelves securely installed, the fun of styling begins. To achieve a classic, editorial look, avoid cluttering the shelves with too many small items. Instead, embrace negative space and curate your displays thoughtfully. Lean a beautiful piece of framed art or a mirror against the wall. Stack a few oversized, visually appealing coffee table books horizontally to act as a pedestal for a beautiful ceramic vase or a sculptural object. Add a trailing houseplant, like a string of pearls or a pothos, to introduce organic life and break up the rigid horizontal lines. Step back and admire your handiwork—you have successfully elevated your home’s architecture with a stunning, custom-built masterpiece.
Discover how to transform even the smallest balcony or outdoor space into a beautiful, functional sanctuary. Elegant ideas for maximizing every inch with style, comfort, and personal charm.
Planning a budget-friendly home refresh? Learn the most common and expensive mistakes to avoid. This practical guide shares real-world lessons on planning, materials, DIY vs pro decisions, and smart spending for beautiful results without regret.
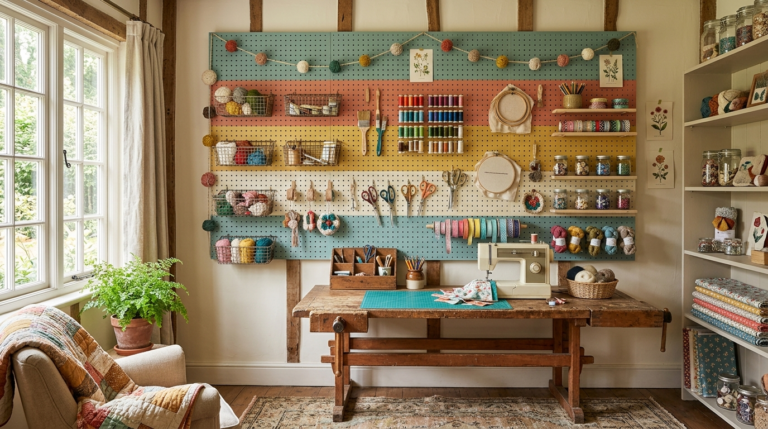
Bring magic and order to your everyday spaces with these imaginative DIY organization projects. From enchanted pegboards to dreamy canopy corners and storybook drawer dividers, discover creative ways to make your home both functional and full of wonder.
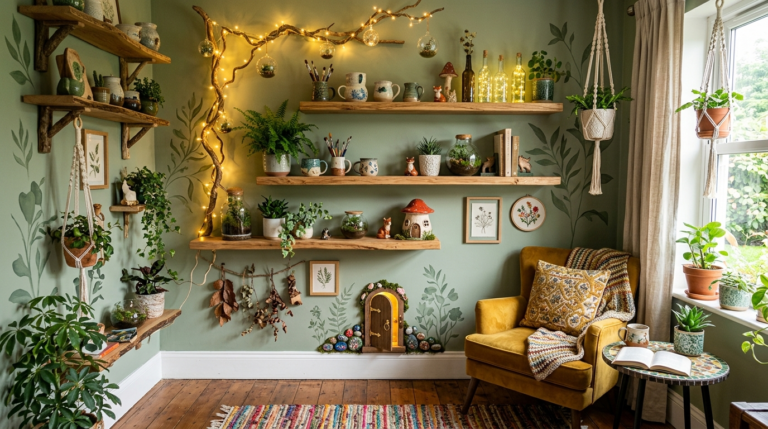
Discover a collection of imaginative DIY projects that transform ordinary spaces into sources of wonder. From floating shelves with hidden stories to light-up headboards and nature-inspired wall art, these creative ideas bring personality and magic to your home.
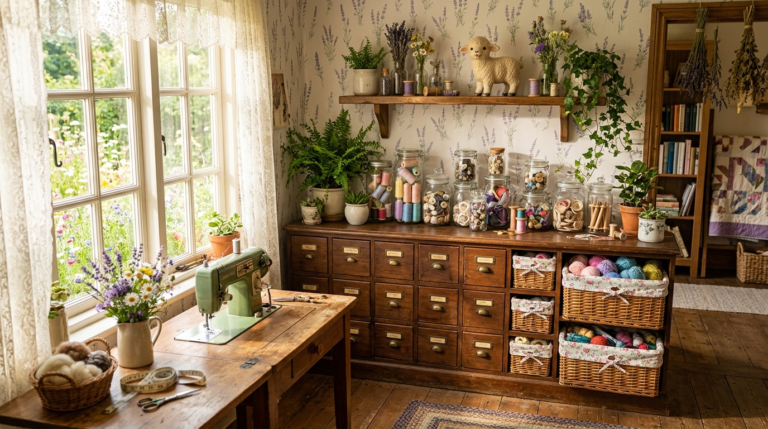
Join the Morning Smile Club and transform your daily routines with these whimsical, imaginative DIY organization projects perfect for a bright summer lifestyle.
Discover 15 sustainable decluttering habits that transform chaotic spaces into serene sanctuaries. Learn daily routines, mindset shifts, and practical systems for lasting organization, reduced stress, and a home that truly supports your life.